Posted in Uncategorized

See How to Create a Gingerbread House with Rinea Paper and StazOn Studio Glaze


Imagine's avatarImagine Blog

by Steph Ackerman

See How to Create a Gingerbread House with Rinea Paper and StazOn Studio Glaze

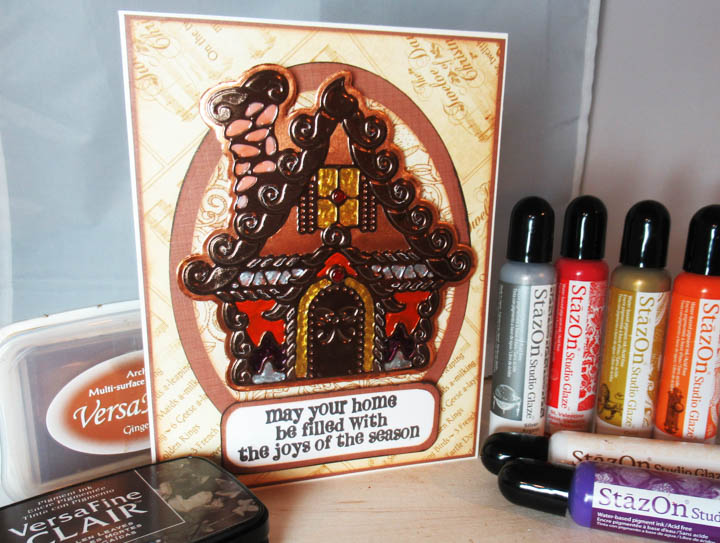
The holidays are almost here and there is nothing as iconic for Christmas as a gingerbread house during the holidays. When the kids have outgrown this tradition, it is still possible to recreate the fun by using your craft supplies. In today’s project, I used StazOn Studio Glaze to fill in some of the details of this gingerbread die.

Skill: Intermediate
Time: 1 hour

Directions

 Gingerbread House from Rinea's Glossy Mocha/Gold Foil
Step 1

Using Spellbinders dies which includes two layered pieces, die cut the Gingerbread House from Rinea’s Glossy Mocha/Gold Foil. Die cut the second Gingerbread House base piece from Rinea’s Glossy Copper/Gold Foil. Use On Point Glue to adhere the layers together.

StazOn Studio Glaze in Valentine
Step 2

Using StazOn Studio Glaze in Valentine, add color to the candy dots in the Gingerbread House.

color using assorted StazOn Studio Glaze colors
Step 3

Continue adding color using assorted StazOn Studio Glaze colors between the die cut elements of the Gingerbread House. Allow each color…

View original post 140 more words
Posted in Uncategorized

Create An Inspiring Design To Help Free Your Mind


Imagine's avatarImagine Blog

by Iris Rodriguez

Create An Inspiring Design To Help Free Your Mind

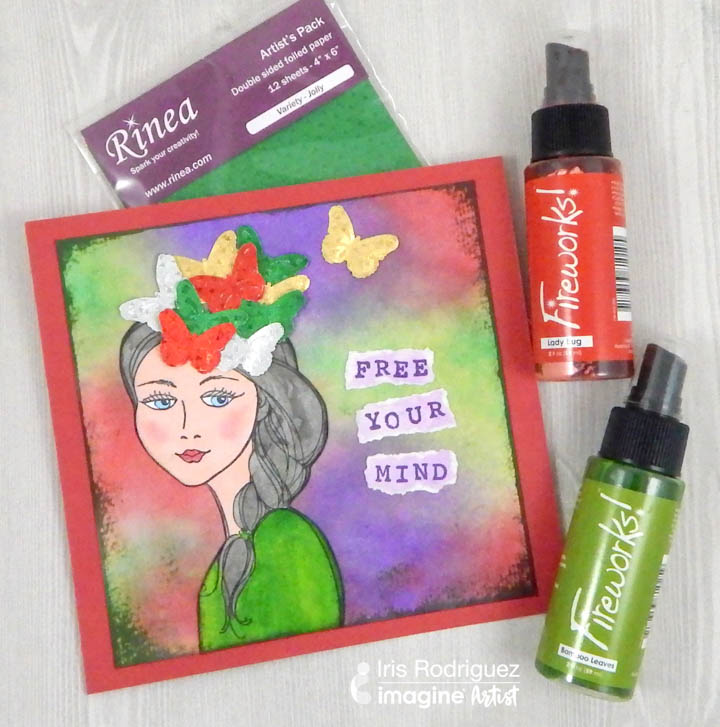
Do you ever think about things too much when you know it’s not necessary? A great way to break up this thinking pattern is to turn to creative endeavors, to “free your mind” and create what the muse wants instead. This month we have the fun challenge of creating projects with Rinea foils. There are so many funs things you can do with these foils; you can stamp on it, paint, use with mediums or create 3D decorative projects. For my card I have used foils as an embellishment, check it out.

Skill: Beginner
Time1 hour

Directions

Fireworks! Shimmery Craft Sprays in Lady Bug, Grape Jelly and Bamboo Leaves
Step 1

Spray water onto watercolor paper, then spray Fireworks! Shimmery Craft Sprays in Lady Bug, Grape Jelly and Bamboo Leaves in different areas. The water will help these inks spread and blend on the paper.

Jet Black StazOn ink
Step 2

Stamp the girl image with Jet Black StazOn ink. I…

View original post 193 more words
Posted in Uncategorized

How to Make a Gingerbread House Garland


Imagine's avatarImagine Blog

by Jennifer Vanderbeek

How to Make a Gingerbread House Garland

Die cuts and a few choice supplies combine to create this darling little gingerbread house garland. Not only is it perfect for the holidays, it’s an ideal craft to let kids help decorate (after the embossing is done!) and it would also look super sweet at a fairy tale themed event—think Hansel and Gretel and the witch’s house in the woods. A fun technique used in this project is layering the StazOn Studio Glaze while still wet. Drawing the tip of the Claret StazOn Studio Glaze bottle over the Cotton White made for near-seamless candy cane stripes once dried. Also, I’ve found it helps to be very generous with the Cotton White, especially on darker papers or backgrounds, if you want it to retain some opacity.

Skill: Advanced
Time: 15 minutes per house

Directions

Supplies

Imagine

View original post 38 more words

Posted in Uncategorized

Learn How to Create Foil Paper Christmas Ornaments


Imagine's avatarImagine Blog

by Roni Johnson

Learn How to Create Foil Paper Christmas Ornaments

Oh My….Gingerbread! That is the color of the month for November 2018 here at Imagine. Gingerbread is not only one of my favorite holiday treats but it is also one of my favorite colors. I have paired it with another of my holiday favorites…handcrafted ornaments! These star ornaments are so elegant looking on the tree and by making them with Rinea Foiled Papers they add loads of extra sparkle and shine to the mix.

Skill: Intermediate to Advanced
Time: 1 hour per ornament

Directions


Step 1

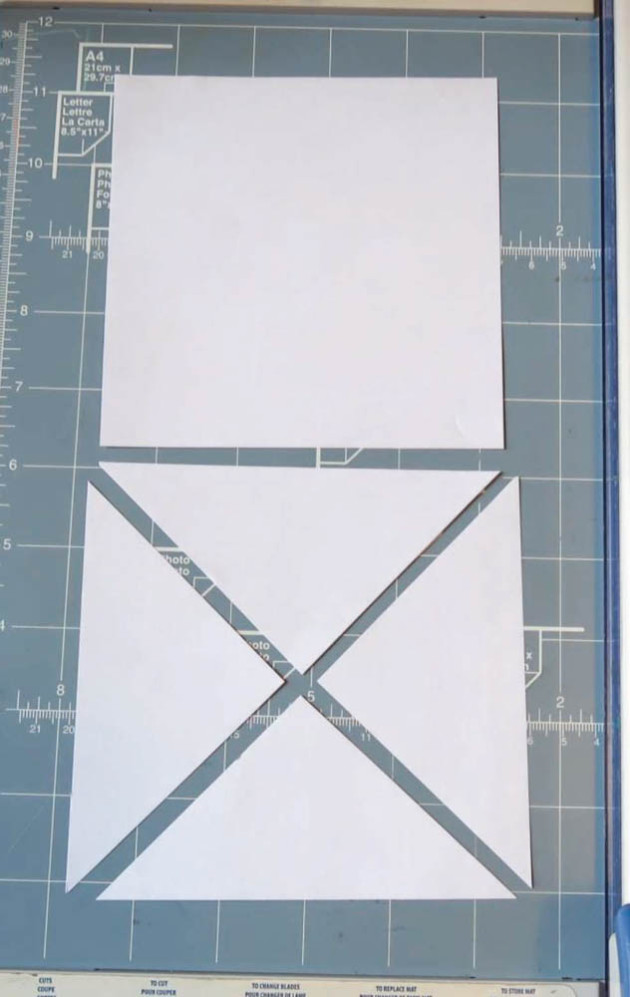
Cut copy weight white paper 4.75” x 4.75”; cut the square into triangles as shown.


Step 2

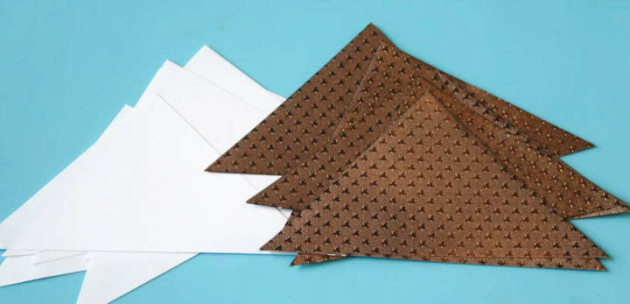
Cut Mocha/Mocha Starstruck Foiled Paper into 5” squares then into triangles. Note: You will need 9-10 triangles per ornament.


Step 3

Stamp each triangle with a variety of ornament peg stamps using VersaMagic Gingerbread and VersaFine Clair Acorn inks. Sponge edges with Dark Brown…

View original post 287 more words

Posted in Uncategorized

Use a Ghosting Technique to Create a Unique Christmas Card


Imagine's avatarImagine Blog

by Martha Lucia Gomez

Use a Ghosting Technique to Create a Unique Christmas Card

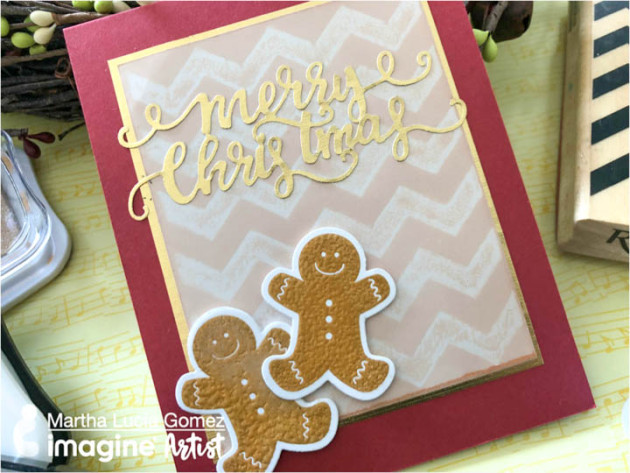
Hello everyone! Ghosting technique was one of the first techniques that I learned in cardmaking crafts and today I am sharing with you a lovely way to incorporate this ghosting technique in a Christmas Gingerbread Card. To realize this technique you only need glossy card stock and VersaMark ink to stamp the ghost image. In my project, I am using a Chevron Background from Recollections, but let me show you the process!

Skill: Intermediate
Time: 1 hour

Directions


Step 1

Take a piece of white glossy card stock and ink your stamp or stamps with VersaMark Ink and stamp directly over the glossy side and set this piece aside for a few minutes so the ink can dry.


Step 2

On a regular piece of cardstock, stamp the holiday-themed images that you want to use to decorate your card. I used a gingerbread image…

View original post 241 more words

Posted in Uncategorized

Mythbuster: Creative Medium is Only Good for Mixed Media Projects


Imagine's avatarImagine Blog

by Steph Ackerman

Mythbuster: Creative Medium is Only Good for Mixed Media Projects

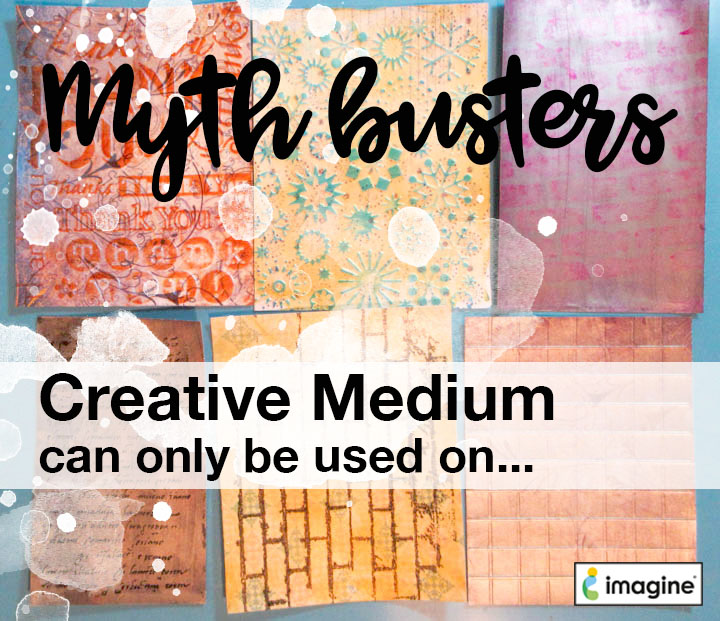
When people think of heavy acrylic pastes like Creative Medium, they tend to assume it can only be used on mixed media projects. I would like to bust that myth by showing you that Creative Medium is also an excellent product to use in card making. Placing a light layer of Creative Medium on your paper can transform the look and feel of your cards. 

Skill: Beginner or Intermediate
Time: 1 hour

Directions

Step 1

Creative Medium can be used to transform any paper. Here I used Creative Medium in Gold Metallic to add a gold shimmer to patterned paper.  

Step 2

Use a palette knife to spread a light layer of Creative Medium on paper then place the paper aside to dry. Creative Medium will not wrinkle your paper and will dry flat.

Step 3

I used 3 different colors of Creative Medium in…

View original post 309 more words
Posted in Uncategorized

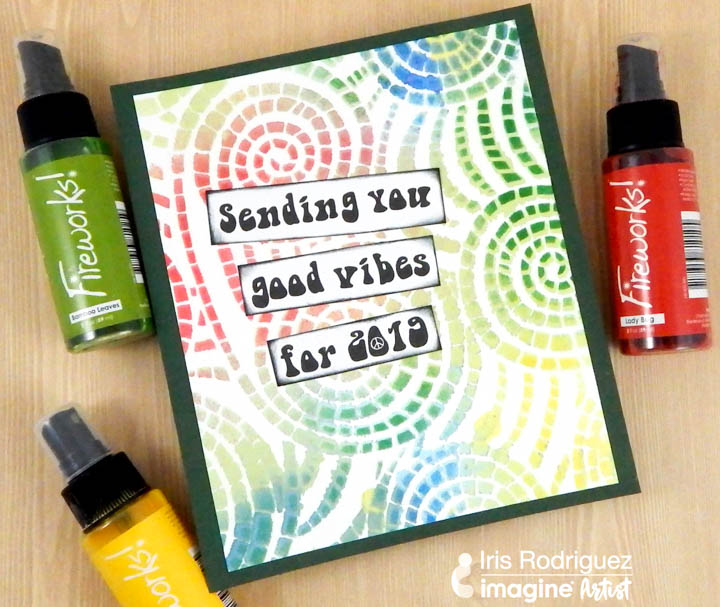
Make A “Sending Good Vibes For 2019” New Years Card


Imagine's avatarImagine Blog

by Iris Rodriguez

Make A "Sending Good Vibes For 2019" New Years Card

The New Year is upon us. Wow! Where does time go? As we think about our New Year’s resolutions and plans; don’t forget to send well wishes to friends and family with this easy, fun and whimsical card using a few supplies.

Skill: Beginner
Time: 30 minutes

Directions

Step 1

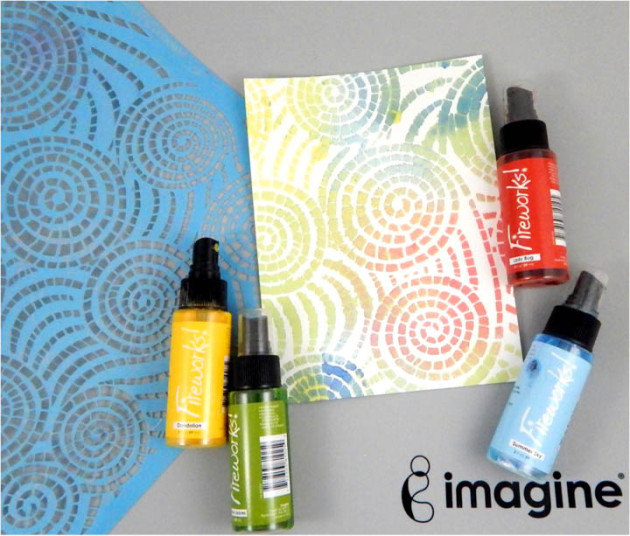
Spray Fireworks Shimmery Craft Spray in Lady Bug, Bamboo Leaves, Summer Breeze and Dandelion over a stencil. Set aside to dry.


Step 2

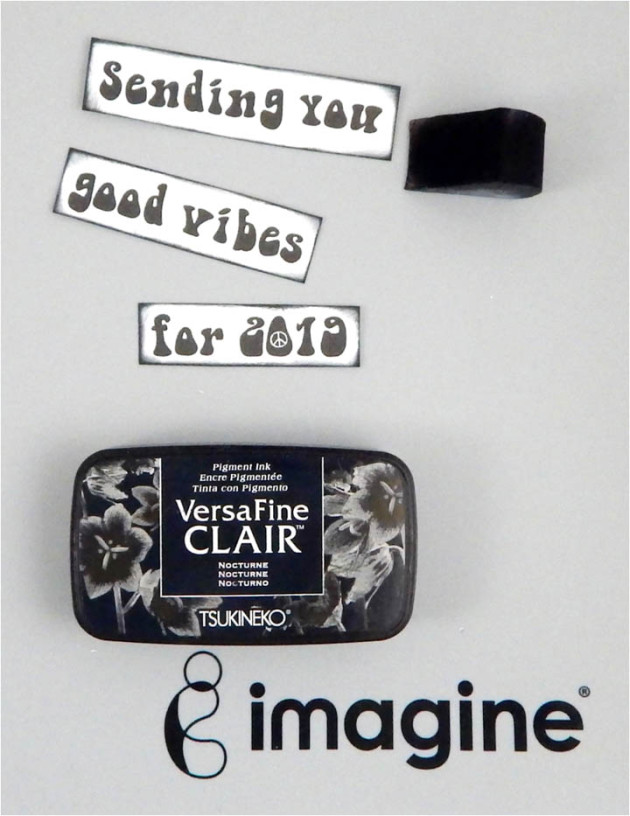
Stamp the New Years sentiment. Another option is to print a sentiment or favorite quote out. This is what I have done in this case. I downloaded a free Hippy font style from the internet, added to my Microsoft Office software. I then, cut the sentiment, darkened the edges with VersaFine Clair in Nocturne. Finally, I adhered the sentiment onto the card using On Point Glue and finished assembling the card.

Supplies

Imagine

View original post 29 more words

Posted in Uncategorized

How To Create A Shimmery Winter Background


Imagine's avatarImagine Blog

by Nadine Carlier

Winter Wishes Card by Nadine Carlier IC

The metallic shimmer in Delicata inks is perfect to create a shimmery winter background. Watch my video below to see exactly how I did it.  Enjoy!

Skill: Intermediate
Time: 30 minutes

Supplies

Imagine
Other

Visit our YouTube Channel for more inspirational videos and subscribe to get updates when we post new videos.

View original post

Posted in Uncategorized

Monochromatic Christmas Card


Imagine's avatarImagine Blog

by Nadine Carlier

Monochromatic Christmas Card by Nadine Carlier IC

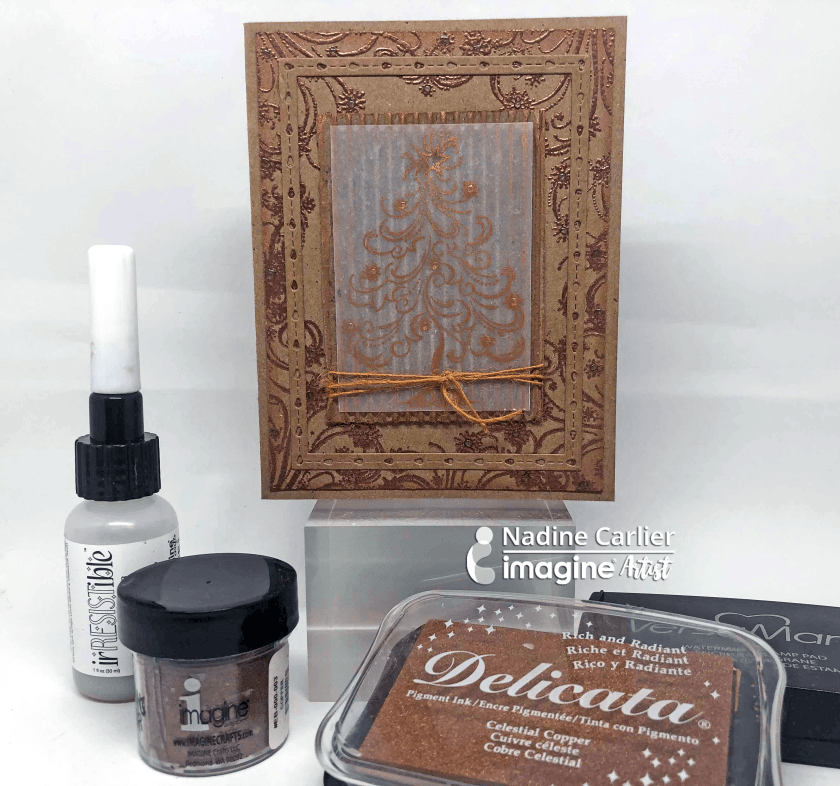
Creating a monochromatic card was easy when using some Delicata Celestial Copper and Copper Embossing powder. Watch my video below to see exactly how I did it.  Enjoy!

Skill: Intermediate
Time: 15 minutes

Supplies

Imagine
Other

Visit our YouTube Channel for more inspirational videos and subscribe to get updates when we post new videos.

View original post

Posted in Uncategorized

Learn How to Create a Christmas Card with Rinea Foil Paper!


Imagine's avatarImagine Blog

by Melissa Andrew

Learn How to Create a Christmas Card with Rinea Foil Paper!

Today, I show you how to create a simple overlay background with Rinea foil paper over a Fireworks Shimmer Spray background for a Christmas card. In addition, I teach you how to use a simple masking technique to double your stamping effect as well as Memento markers to create dimension. Enjoy!

Skill: Advanced
Time: 1 hour +

Directions

Supplies

Imagine

• Fireworks Shimmery Craft Spray – Tangelo, Dandelion
• VersaFine Clair – Nocturne
• Memento Markers – Cottage Ivy, New Sprout, London Fog, Tuxedo Black
Irresistible Pico Embellisher – Gold Shimmer, Wedding Dress White
• On Point Glue
• Tear It! Tape

Other

• Rinea Ebony Foil Paper – http://bit.ly/2zZa308
• Little Darlings Rubber Stamps – Tree line http://bit.ly/2PyzMHs and Mountains http://bit.ly/2ORquRI
• Whimsy Stamps – Everyday Scripted Sentiments http://bit.ly/2Ke3Sub
• Whimsy Stamps – Penguins Winter Adventure http://bit.ly/2A2uEku
• Paper Trimmer
• Scissors
• Masking Paper
• Watercolor Paper
• White Card Stock

View original post 2 more words
Posted in Uncategorized

Create an Inspiring Card with Rinea Foil


Imagine's avatarImagine Blog

by Jowilna Nolte

Create an Inspiring Card with Rinea Foil

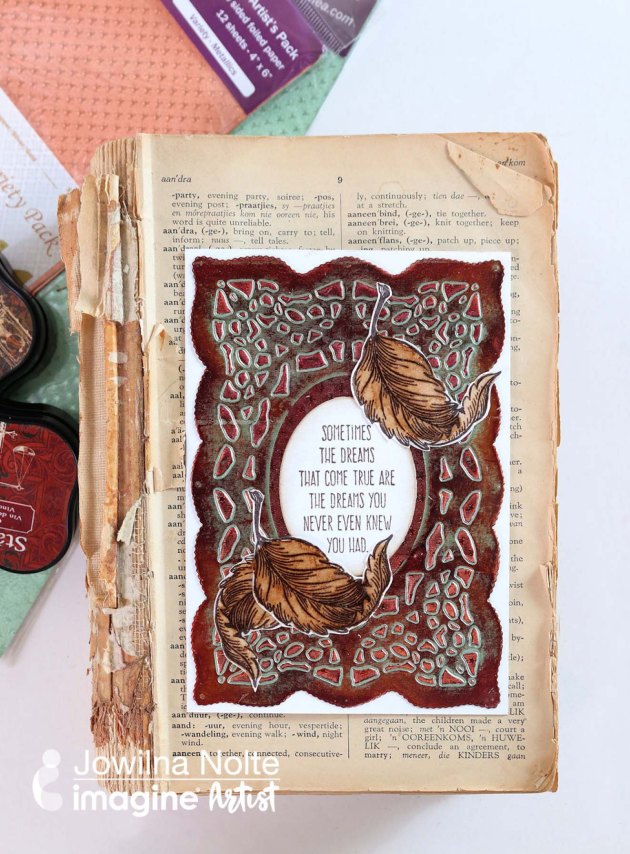
What perfect way to create an Autumn inspired card than using the wonderful range of StazOn inks from Imagine and Rinea Foils. These foils are great for coloring and die-cutting and together make for a stunning effect. Take a look at how I achieved this stunning end result using these amazing products.

Skill: Advanced
Time: 1 hour

Directions


Step 1

Add a layer of wide double sided tape to the back of a sheet of Rinea Foil and adhere it to a piece of plain cardstock to make it nice and firm for die-cutting.


Step 2

Use a frame die to cut the foil. Because of the added cardstock, the die did not cut through but rather created an embossed look. The double-sided tape also helps to keep all those little pieces intact adding to the overall look.


Step 3

Use your StazOn inks with…

View original post 246 more words
Posted in Uncategorized

Create a Frosted Blue Season’s Greetings Card


Imagine's avatarImagine Blog

by Martha Lucia Gomez

Create a Frosted Blue Season's Greetings Card

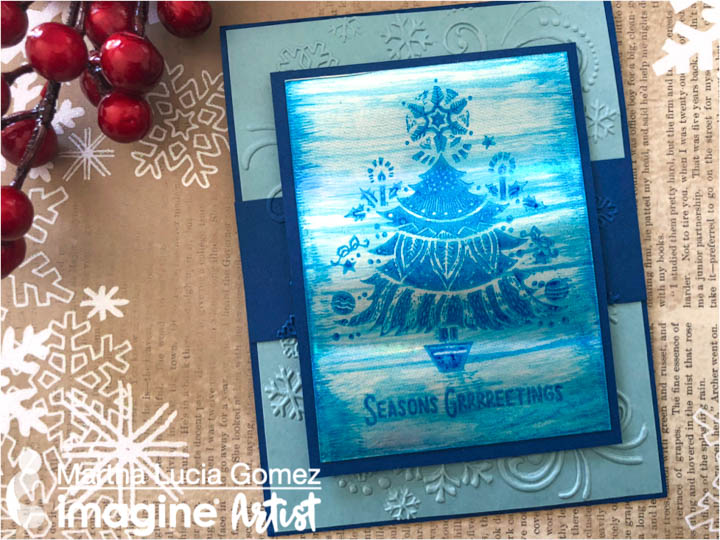
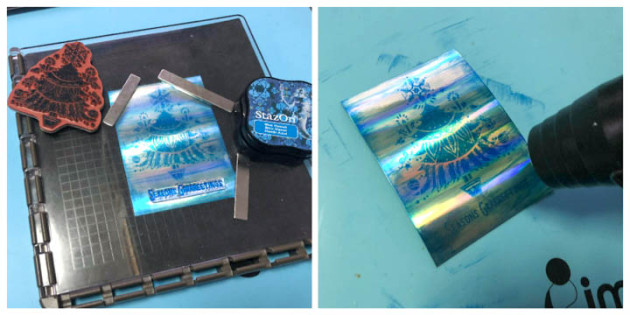
Today I have something “cool” to make! I use an ice technique and “frosted blue” color challenge to create a Season’s Greetings holiday card. To make this technique you only need StazOn Ink, metallic paper, VersaMark and embossing powder to obtain a good shine in your project.

Skill: Intermediate
Time: 30 minutes

Directions


Step 1

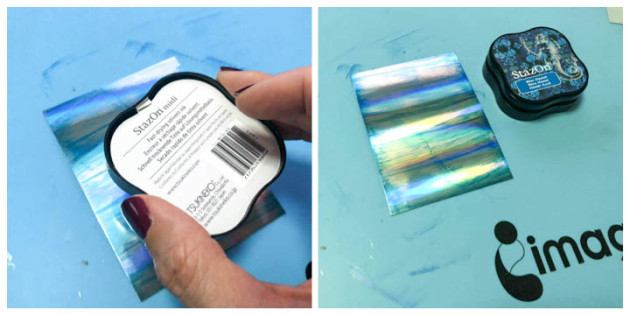
I started with a piece of Silver Foil Sheet from Stamping Up. I decided in advance which stamps I wanted to use and I cut the paper a little bigger of the stamps to create the ice look. Then I applied the ink directly with the StazOn Inkpad Blue Hawaii from left to right and then repeated the process but from right to left.


Step 2

The idea is to create intermittent horizontal lines and have the borders a little darker. Depending on the brand of the foil paper that…

View original post 291 more words
Posted in Uncategorized

Learn How to Build a Papercrafted Wreath with Dewlets


Imagine's avatarImagine Blog

by Roni Johnson

Learn How to Build a Papercrafted Wreath with Dewlets

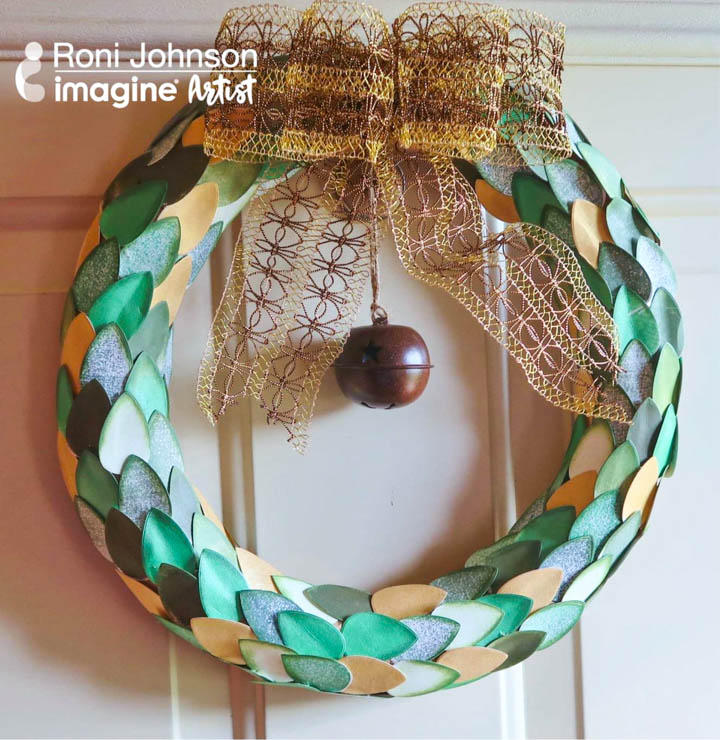
I love my Dew Drop ink pads…they are just the right size. They are small enough that they take up less space yet big enough to hold lots of ink for all of my projects. Imagine has come up with an ingenious idea of using these Dew Drops not only as ink but as the main component of a project using the brand new Dewlets dies! These little dew drop shaped cutting dies are perfect for all sorts of projects including the Laurel wreath I made for you today.

Skill: Advanced
Time: 4 hours

Directions


Step 1

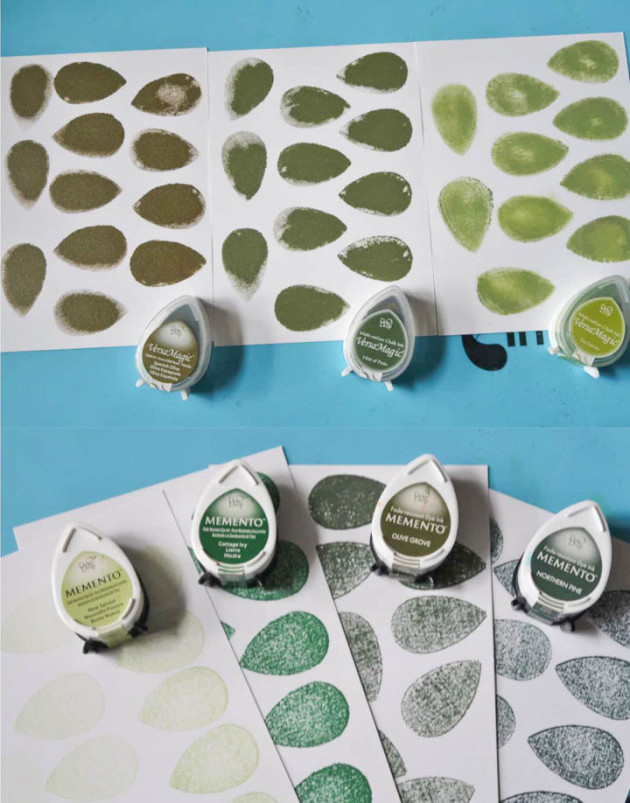
Stamp out dozens of dew drops using several colors of Memento and VersaMagic inks. In addition to these Dew Drop shapes, I also rubbed Delicata Golden Glitz and Emerald Green inks onto white cardstock.


Step 2

Die-cut all of the dew drops using the Dewlets dies. Cut out…

View original post 148 more words

Posted in Uncategorized

Learn How to Make a Card with Dewlets and Vellum

Imagine's avatarImagine Blog

by Martha Lucia Gomez

Learn How to Make a Card with Dewlets and Vellum

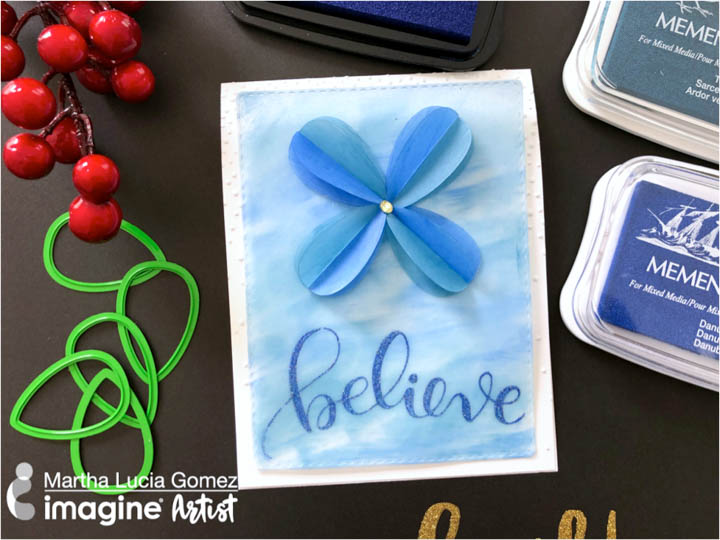
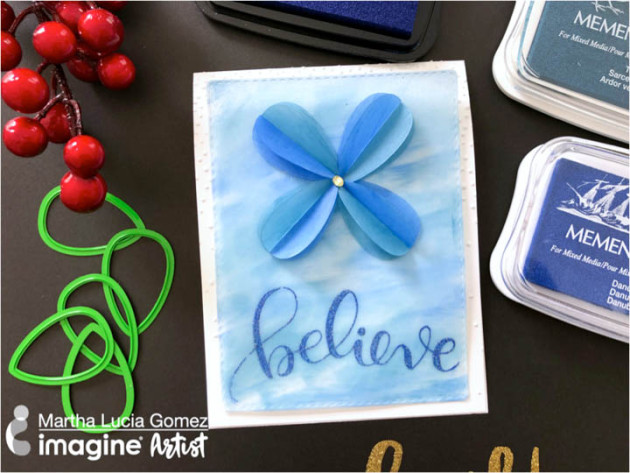
Hello everyone! Today I am going to show you how to turn the Dewlet shape into a flower using vellum. Vellum is one of the most delicate and versatile papers. Not all inks work well on vellum and today I will share with you a complete card that I made using it with Memento Luxe ink.

Skill: Intermediate
Time: 1 hour

Directions


Step 1

Ink the vellum using two different colors of Memento Luxe ink in Danube Blue and Teal Zeal to create the background. Take a piece of vellum cardstock and apply the Memento Luxe ink directly with the ink pad. Do not mix the colors of the ink to avoid contaminating it with a mixture of colors. With an ink blusher distribute the ink over the vellum surface and fix the color with the heat tool or leave dry the piece very…

View original post 308 more words

Posted in Uncategorized

Create Paper Poinsettias with Memento Ink and Dewlets


Imagine's avatarImagine Blog

by Steph Ackerman

Create Paper Poinsettias with Memento Ink and Dewlets

Dewlet Etched Metal Dies are perfect to use with Dew Drop Inkpads. Simply stamp the droplet shapes then align and cut the dies using any die cut machine. There are many options with the shape to play and experiment. Once I started playing with the dies, I found myself creating two very different cards. Simply by flipping the droplet shapes allows you to create poinsettias, leaves, and even dragonflies.

Skill: Intermediate
Time: 1 hour

Directions


Step 1

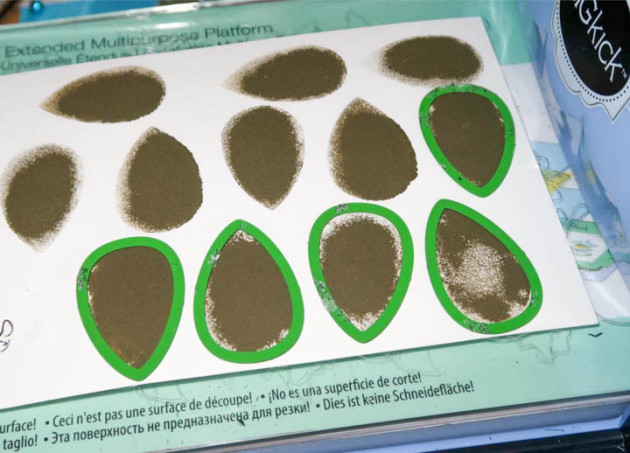
Stamp each stamp pad onto white cardstock. Punch out the petals by using the Dewlet dies and a die cut machine.


Step 2

Ink around each petal for dimension, then use a stylus to give the petals dimension.


Step 3

Create the background by inking a large background stamp with white ink then emboss with clear embossing powder to create a tone-on-tone effect. Using a jumbo dauber, ink…

View original post 279 more words