Posted in Uncategorized

DIY Crafter’s Carousel to Organize Your Supplies


Katie Smith's avatarwalnuthollowcrafts

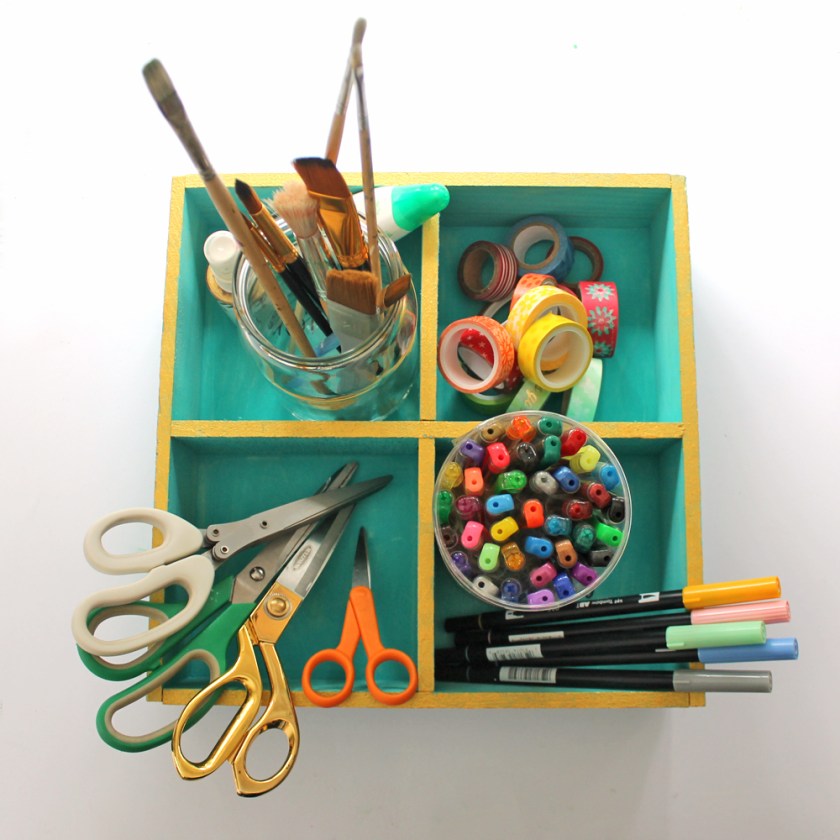
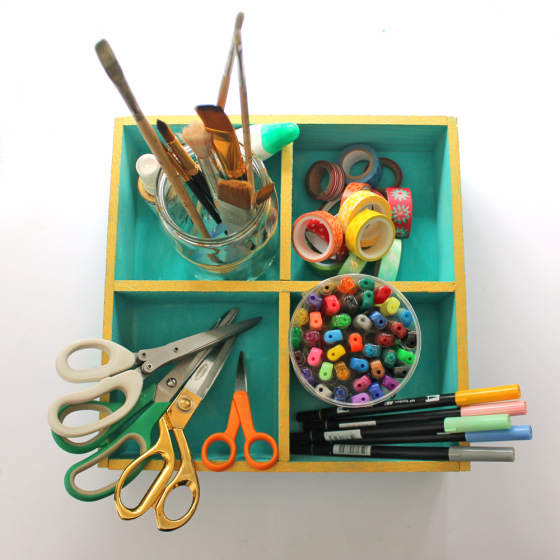
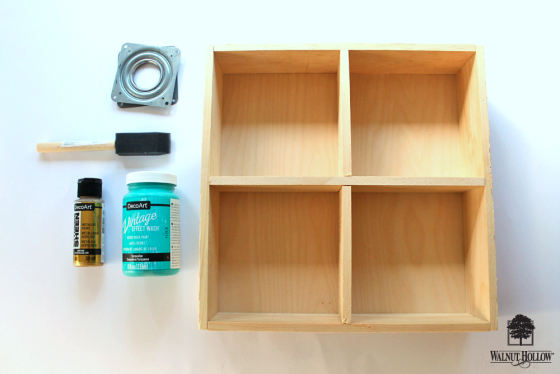
I’m one of those people who has always loved to organize things.  A well organized studio just makes me extremely happy and I love looking at containers, carts and other storage solutions. So, for today’s project I wanted to show y’all how I turned one of  Rustic Divided Tray (by Walnut Hollow!) into a supply carousel that I can place near my desk to keep my most used supplies handy!

Supplies:

  • Rustic Divided Tray
  • DecoArt Vintage Effect Wash
  • DecoArt Extreme Sheen Acrylic Paint
  • Navy Blue Acrylic Paint
  • Arrow Stencil
  • 1″ Foam Brush
  • 1/2″ Paint Brush
  • Stencil Brush
  • Paper Towels
  • Lazy Susan Turntable Bearing
  • Strong Adhesive

Step one: Start by giving your Rustic Divided Tray a bit of color. I used a 1″ foam brush to apply vintage effect wash onto the wood. After it was completely covered, I used a paper towel to wipe away any excess paint.  The foam…

View original post 344 more words

Posted in Uncategorized

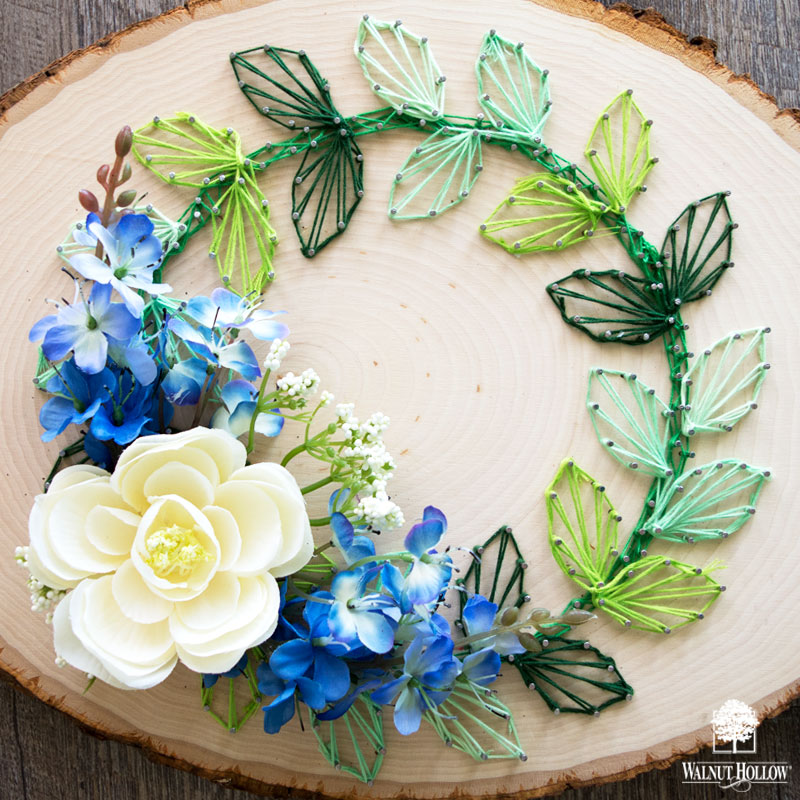
Basswood Country Round String Art Wreath


Kelli @ CraftShackChronicles's avatarwalnuthollowcrafts

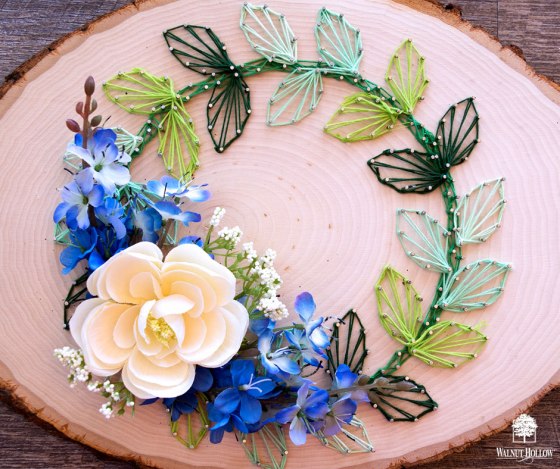
String art is beautiful and trendy! It’s very simple to do, too! But you can take your string art up a notch by adding fun textures and elements to the finished product to give it some more depth and character! I made this pretty String art wreath on a beautiful Walnut Hollow Basswood Country Round wood slice, and added some silk flowers for a lovely pop of color!

String Art Wreath

Here’s what you’ll need to make your own String Art Wreath:

String art wreath supplies

Step one:

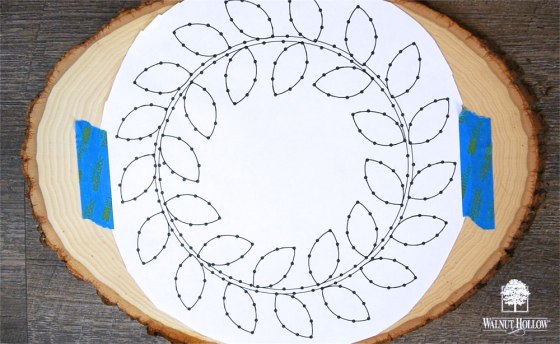
Print and trim the Printable wreath guide to fit on your Basswood Round.   Tape it into place.

Tape the Guide to the RoundString Art Leaf Guide Printable

Step two: 

Hammer a nail into each dot on the guide.    Be careful not to hammer your…

View original post 359 more words

Posted in Uncategorized

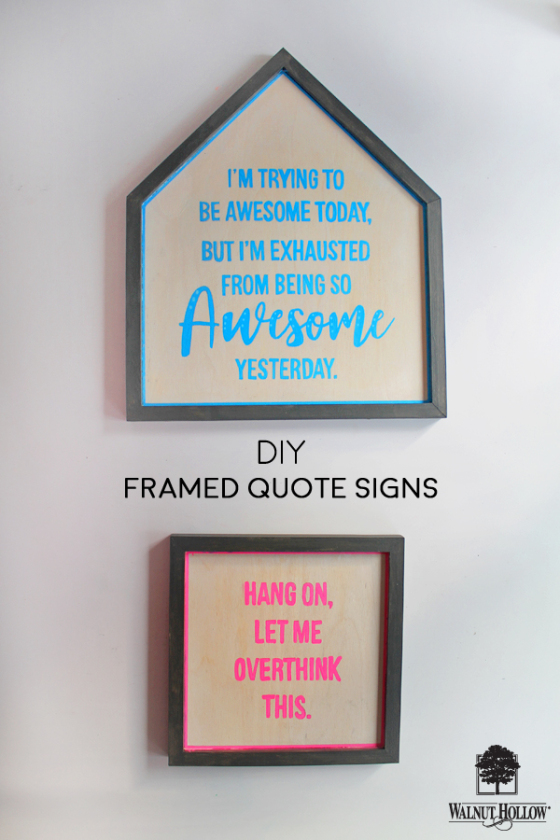
DIY Framed Quote Signs


Katie Smith's avatarwalnuthollowcrafts

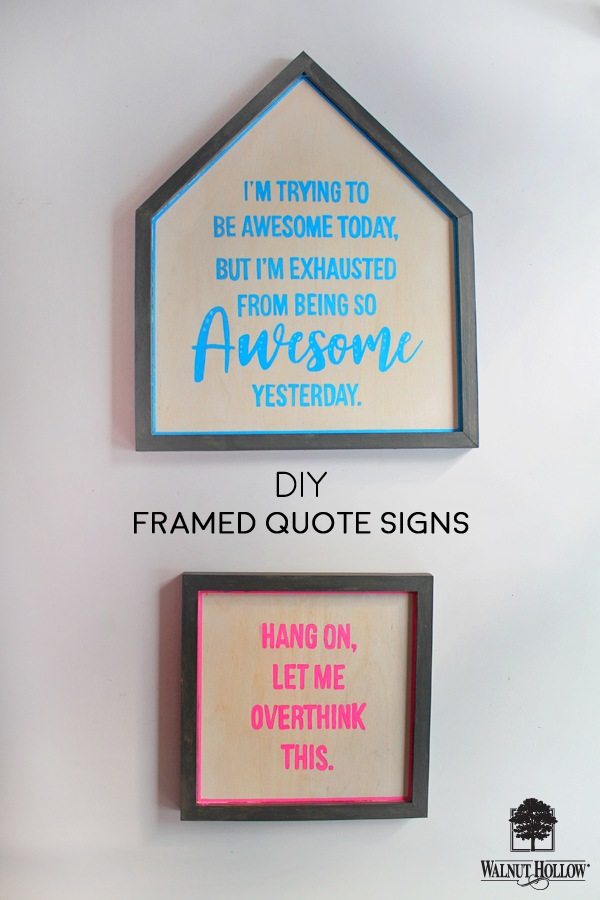
Have you seen the Framed Sign trend yet? I’ve seen so many cute signs in stores and Walnut Hollow makes a few different sizes and shapes of framed wood signs so that you can make your own, so that’s exactly what we’ll be doing today!

I’ve added some fun, witty, sayings onto mine.

DIY Framed Quote Signs

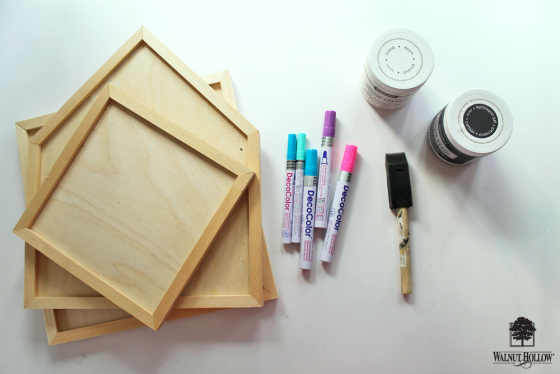
Supplies:

I turned the saying I used into some pdf patterns you can print out if you want:

How to Paint Framed Quote Signs:

DIY Framed Quote Signs Supplies

Step one:

I painted the inside area of my framed sign with a white color stain (by DecoArt).  Once that was dry, I taped off the inside, and painted the frame with a black color stain, which really helps the…

View original post 177 more words

Posted in Uncategorized

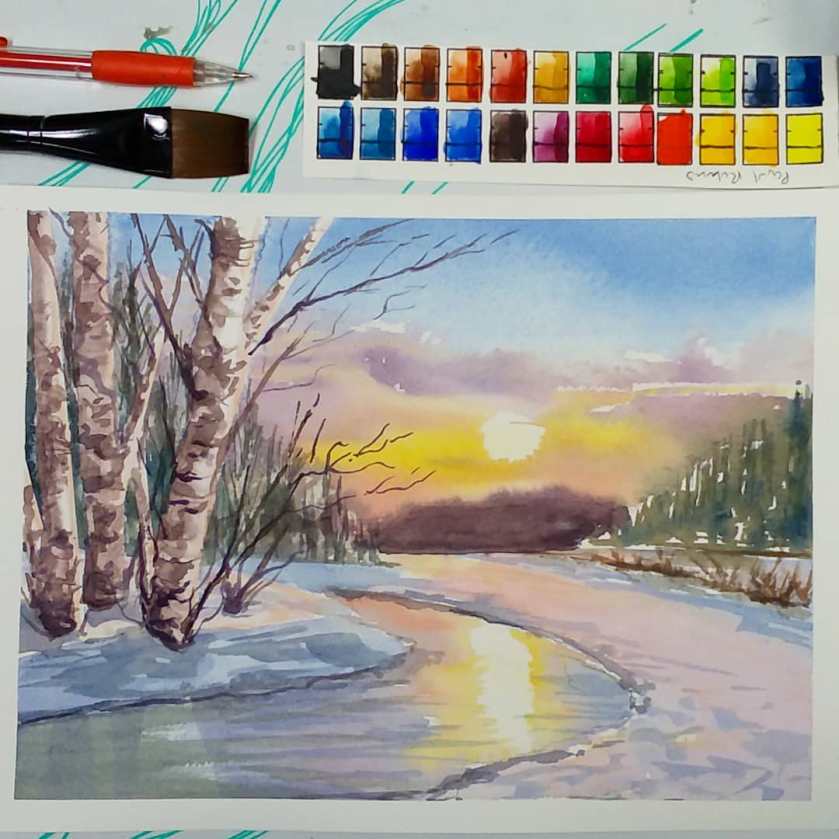
Snowy Winter Sunset – Paint With Me!


thefrugalcrafter Lindsay Weirich's avatarThe Frugal Crafter Blog

Hi friends! I invite you to take a break from the hustle and bustle of the holiday season and paint with me. You don’t need many supplies and you can paint this in under an hour!

48385309_10213182667146696_5365873840289218560_o.jpg

The colors you will need are:

  1. A cool red like Alizarin Crimson, Rose Madder or Permanent rose
  2. A warm Yellow such as Cadmium Yellow, Gamboge, Permanent Yellow, Hansa Yellow Deep or Indian Yellow.
  3. A warm blue like Ultramarine Blue or Cobalt blue.
  4. A cool soft blue like Cerulean (look past a pastel looking blue hopefully made with PB36) or sky blue. Avoid a cerulean that looks intense and vivid. Sometimes companies call Phthalo Blue (PB15) Cerulean but it is too intense for this. If you don’t have a good cerulean than you can leave it out

Keep in mind you only need one of each of the suggestions for a total of 4 colors in…

View original post 187 more words

Posted in Uncategorized

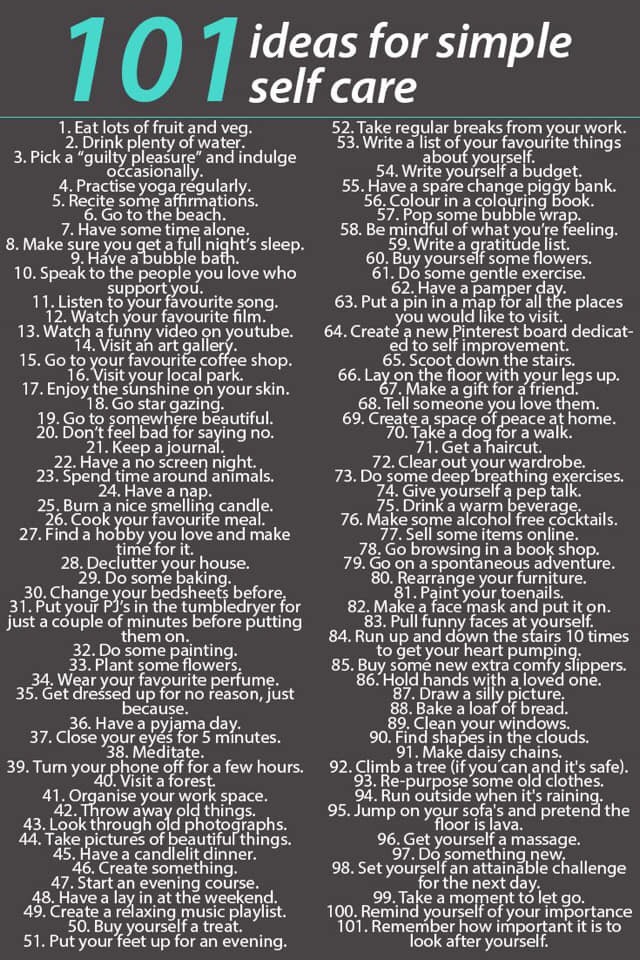
10 Do’s And Don’ts Of Mental Health


Specscladeyes's avatarSpecscladeyes

Day-10-Blogmas-2018-specscladeyes.png

On the tenth day of blogmas, I am sharing a list of what and what not to do when you hit the low. When dealing with bad mental health days, it becomes extra important to keep us occupied in the right direction.

What to do?

  1. Manicure: Either get a manicure done or give yourself a manicure, who doesn’t like pretty nails?
  2. Draw/ paint: Art is the best therapy, there is nothing more relaxing than colours. You can also buy the adult colouring books, they are super fun and relaxing.
  3. Write:If art is too challenging for you, you can always try the brain dump method where you write every thought of yours on a piece of paper. You will feel very light and calm after it, I promise.
  4. Watch a movie: Nothing is better than getting lost in the beautiful cinematography and rooting for your favourite characters.
  5. Read a book:

View original post 362 more words

Posted in Uncategorized

Learn How to Make a Holiday Card with a Gel Press and All-Purpose Ink


Imagine's avatarImagine Blog

by Kassy Tousignant

Winter is right around the corner and I love when the snow covers the landscape! When I received the Frosted sampler pack of Rinea papers, I couldn’t resist making a winter card with a cute penguin stamp. I didn’t have white Creative Medium to make my snowflake background, so I mixed some All-Purpose Ink in the clear Creative Medium and achieved great results! I created a wintery background with Doodlestix, a Gelli Press, All-Purpose Inks, and Fireworks sprays from Imagine.

Skill: Advanced
Time: 1 hour + dry time

Directions

Supplies

Imagine

• StazOn – Blue Hawaii
• All-Purpose Ink – White, Blue Bayou, Sky Mist
• Creative Medium – Shimmer, Clear
• IrRESISTibles Pico embellisher – Shimmer
Fireworks Shimmery Craft Spray – Bahama Blue
Tear It! Tape
Doodlestix
Palette knife

Other

• Rinea Paper – Frosted variety pack
• Stacking metal…

View original post 35 more words

Posted in Uncategorized

Learn How To Stamp On Rinea Foil Paper With Stazon


Imagine's avatarImagine Blog

by Martha Lucia Gomez

Learn How To Stamp On Rinea Foil Paper With Stazon

Hello crafty friends, today I have a quick and easy way to create special effects on your cards with a stamped foil background. During this month we have two challenges, to use Rinea Foiled Paper and to use the gingerbread color. To be honest, it as a little difficult for me to define the gingerbread color because in Imagine we have many options of colors of inks, so I used StazOn Gothic Purple, which is not a gingerbread tone, with papers on the line of gingerbread.

Skill: Intermediate
Time: 30 minutes


Step 1

I stamped several times the Lineal Floral Background from Pinkfresh Studios over a piece of Glossy Marigold/Gold Rinea Foil Paper using the StazOn Gothic Purple and let the ink dry for a few minutes. Misti or Stamparatus are fantastic tools in this process because you don’t need to move or re-position your…

View original post 201 more words