www.channelthreesixfive.com/2018/05/29/how-to-contour-and-highlight-with-concealer/
Shared
Aim High
A DIY round raffia box bag
A DIY round raffia box bag
http://selfassemblyrequired.co.uk/2018/05/26/a-diy-round-raffia-box-bag/
— Read on selfassemblyrequired.co.uk/2018/05/26/a-diy-round-raffia-box-bag/
Don’t Miss These Posts On DIY Projects…
Don’t Miss These Posts On DIY Projects…
https://diyprojects.com/may-2018-roundup-4/
— Read on diyprojects.com/may-2018-roundup-4/
Project Swap: Create a “Dear Friend” Greeting Card
Project Swap: Create a “Dear Friend” Greeting Card
Project Swap: Create a “Dear Friend” Greeting Card
— Read on imaginecraftsblog.com/2018/05/26/project-swap-create-a-dear-friend-greeting-card/
Hey! Thought you would enjoy Ibotta (if you don’t already). It’s an easy to use, cash back rewards app. I use it every time I shop, and thought you would like it too! Use my referral code, apdhdky, and you can get a $10 welcome bonus. Sign up at https://ibotta.com/r/apdhdky

DIY Pine Cone Ornaments
I wanted to share with you all my version of pine cone ornaments. This was my first time doing a craft project using pine cones. I had a lot of fun making these beautiful ornaments and adding a bit of nature to my Christmas decor.
I used the following supplies:
- Pine Cones
- Snow Spray
- Jute Rope
- Ribbon
- Hot Glue Gun

1. Go outside and pick pine cones.
2. Bake the pine cones in the oven at 200° for about 40-45 minutes. This will get rid of the bugs that are sometimes on the pine cones.

3. Remove pine cones from the oven and let cool.
4. Spray pine cones with snow spray. I bought a small can of it at a dollar store in the Christmas decor section. The spray is easy to use and dries after a few minutes.

5. Cut jute rope into 8 inch long pieces, and…
View original post 72 more words

Wood Mason Jar Holder
I have to admit that I’m still not over the Mason jar craze! For this tutorial, I decided to turn some of those jars and a wooden board into beautiful wall decor. Mason jars are such a versatile and inexpensive way to decorate your home, and they are especially lovely when you add flowers to them.
Continue reading below for instructions. And don’t forget to comment because I want to know some fun ways you like to use Mason jars in your homes. I know I can’t be the only one who loves to collect jars for projects!
Supplies:
- 16in. x 20in. Pinewood panel board
- 3 Mason jars
- 7 in. Wooden circle plaque
- Chalkboard paint
- 1 in. cup hooks
- Pink acrylic paint
- Twine or ribbon
- Foam brushes
- Chalk
- Wood glue
- Faux flowers

Instructions:
1. Paint the wooden panel board with the pink acrylic paint. Let it dry.

2. Paint the…
View original post 177 more words
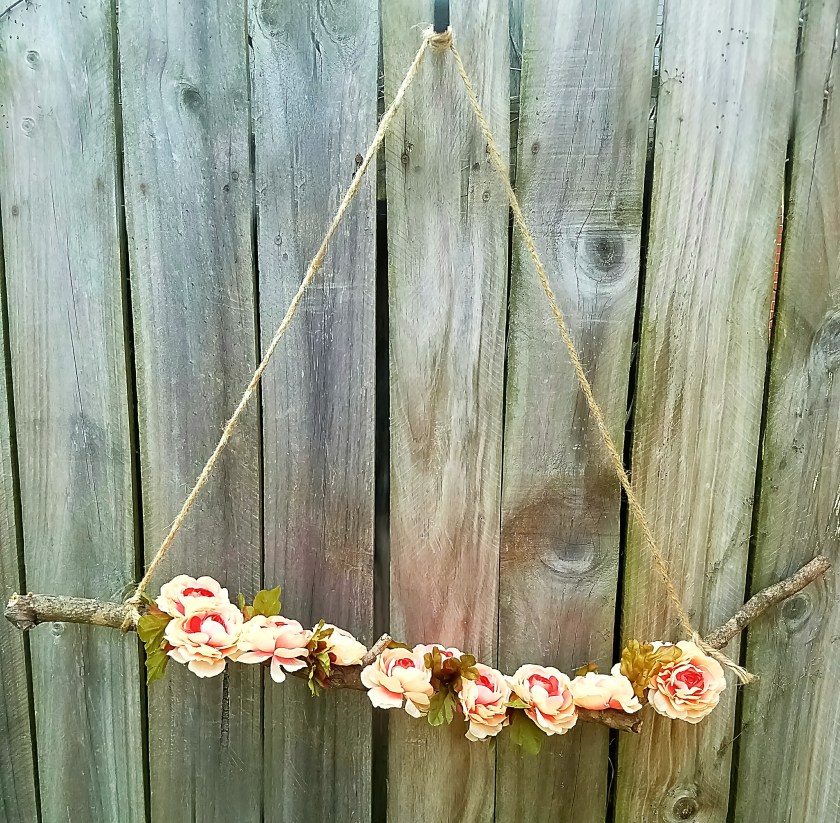
DIY Floral Tree Limb
Today’s blog post is a fun project that is inspired by things found in nature.

There was a severe thunderstorm in my area a little while ago. These storms can cause lots of damage. Thankfully, the only problem was a few tree branches and limbs in my yard. Most people would see the debris as trash, but my crafty mind came up with a way to turn the tree limb into home decor.
This project is so easy to do. I completed it in under an hour with a lot of supplies I already had in storage!
Follow the directions below for inspiration.
Supplies:
- Tree Limb
- Burlap Jute Rope (1 yd.)
- Glue Gun and Glue Sticks
- Faux Flowers
- Scissors
- Wire Cutters

Directions:
- Pull the faux flowers from the stems or remove the flowers with wire cutters.
- Adhere the flowers on the limb with a hot glue gun.

- Tie the jute…
View original post 120 more words

Embroidery Hoop Wreath
Today’s blog post features an easy wreath tutorial. In just 30 minutes or less, you can decorate your door with a simple yet beautiful wreath that’s perfect for Spring and Summer.
Supplies:
- 10″ Embroidery Hoop
- Faux Flowers
- Hot Glue Gun and Glue Sticks
- Felt
- Scissors
- Wire Cutters
 Instructions:
1. Make a base for the flowers. Cut a piece of felt into a circular shape and wrap it under the bottom curve of the hoop. Fold the felt in half with the metal hoop inside the fold.
2. Hot glue the felt closed over the hoop and along the edges.

3. Cut the stems off of the flowers with wire cutters. Set the faux flowers aside and decide how you want to assemble them on the hoop.
4. Glue the leaves and greenery on the felt first. Then glue the larger and smaller flowers in place. Continue gluing flowers to achieve your…
View original post 42 more words
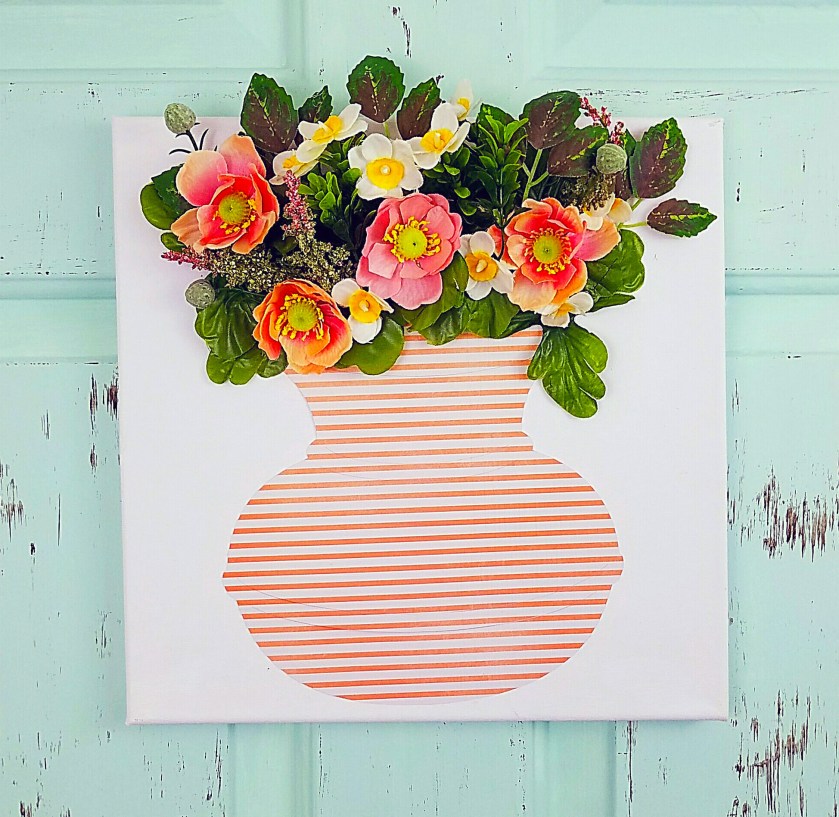
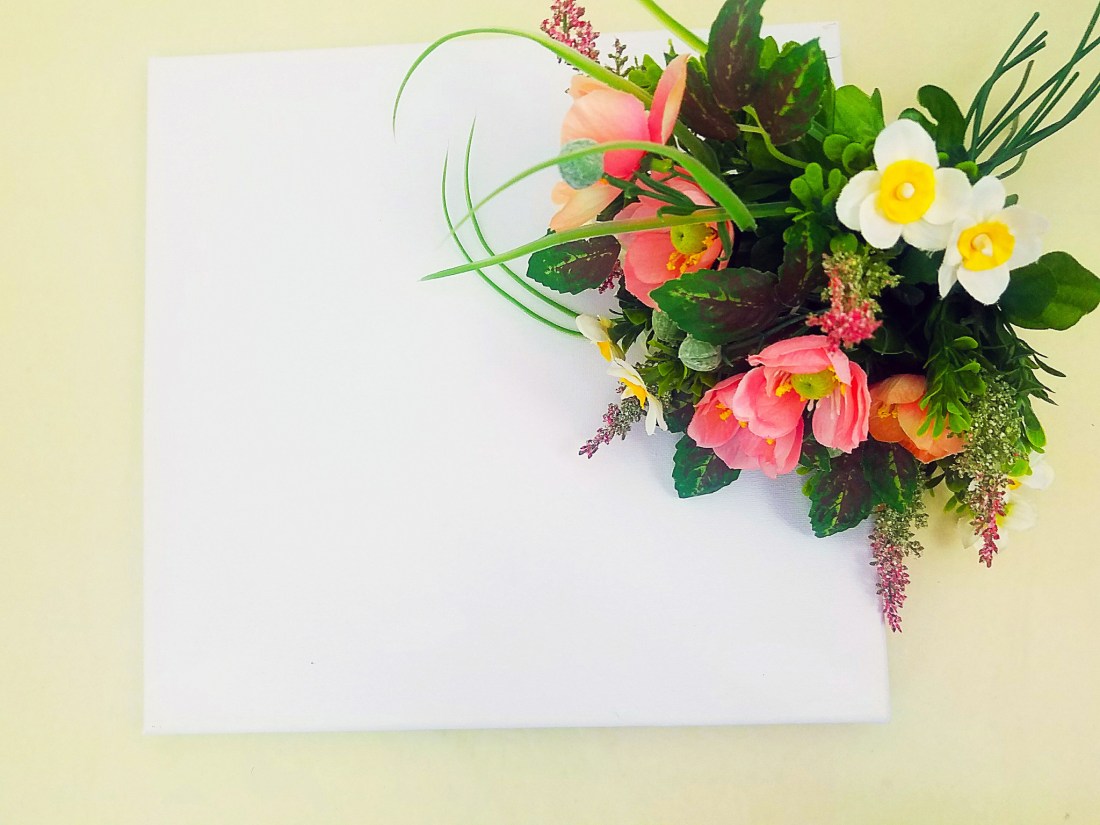
DIY Flower Canvas
I love any craft project involving flowers. So I was excited when I found this simple and easy flower canvas project on Youtube. Michaels created the video, and it inspired me to make a version of the wall art for my home.
 Supplies:
- 12″ x 12″ white canvas
- Assortment of faux flowers
- Cardstock
- Hot glue gun and glue sticks
- Scissors
- Pencil
Instructions:
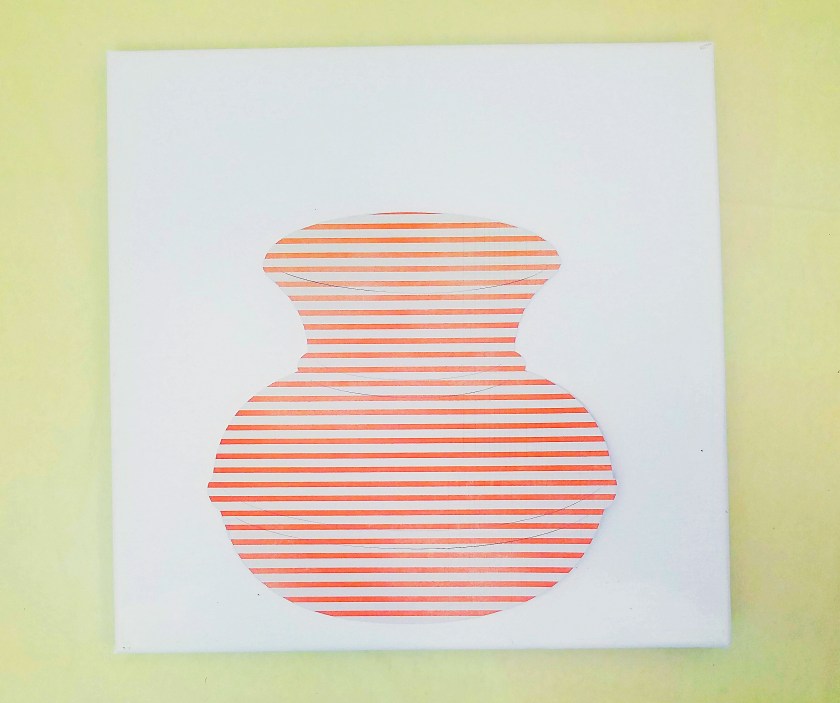
1. Draw the shape of a vase on a sheet of cardstock. Cut it out of the paper and then glue it to the canvas. Make the paper vase large enough to where it will fill up about 3/4 of the canvas, leaving space at the top for flowers.
2. Remove the flowers from the stems, and decide beforehand how you want to arrange them on the canvas.
3. Begin gluing the flowers. I like to start with the leaves first, and then I adhere the larger…
View original post 63 more words
Shared
Backyard friends!!
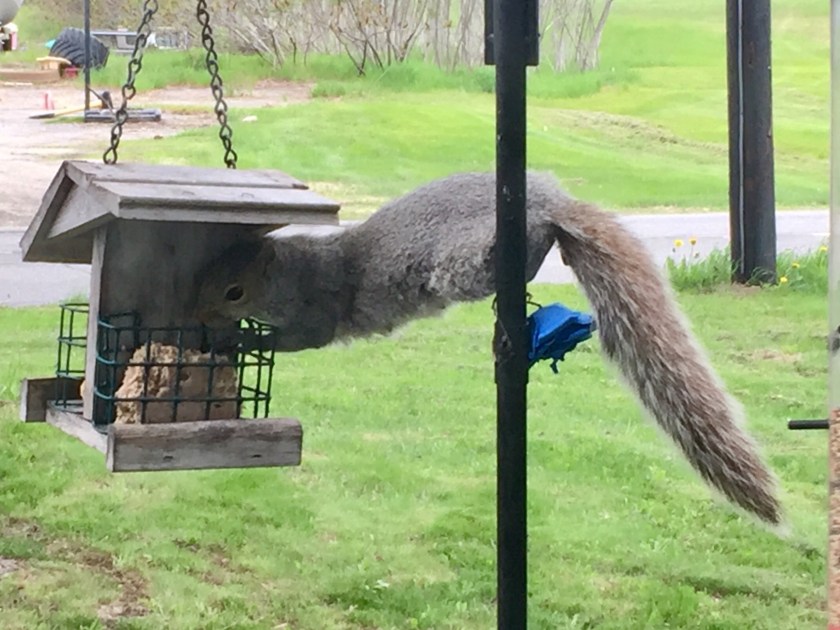


Notice she keeps a good eye on the dog and I , now I understand how that supply got low so fast!!! Lol
Self-Improvement !!
Self-Improvement !!
https://ascerblog.xyz/2018/05/22/self-improvement/
— Read on ascerblog.xyz/2018/05/22/self-improvement/
